Hello Everyone! Today I'm going to show you how to...

Turn two okay shirts into one awesome shirt!
(Or as I like to call it, How to Make a Frankenshirt!)
So, I've been looking for a cool ruffled shirt for a while for a Victorian costume, but haven't had much luck. I found lots of plain white shirts, but no shirt of my dreams. I eventually found the perfect one - except it was one of those strange shirt-attached-to-sweater-vest things. Well, I did what any person with two shirts and a sewing machine would do - I improvised!
Exhibit A: Uninspiring plain shirt on the left, and fun ruffle-y front section of a shirt with a maroon sweater vest attached on the right.

First things first - turn the sweater vest thing inside out...

And start seam ripping!

Once detached, it took me a while to figure out how I wanted to put this all together. I turned both of them inside out and laid the ruffled collar over the top of the shirt.

I made sure to match both the seam lines on the collar and the shoulder so that the new collar would fit right.
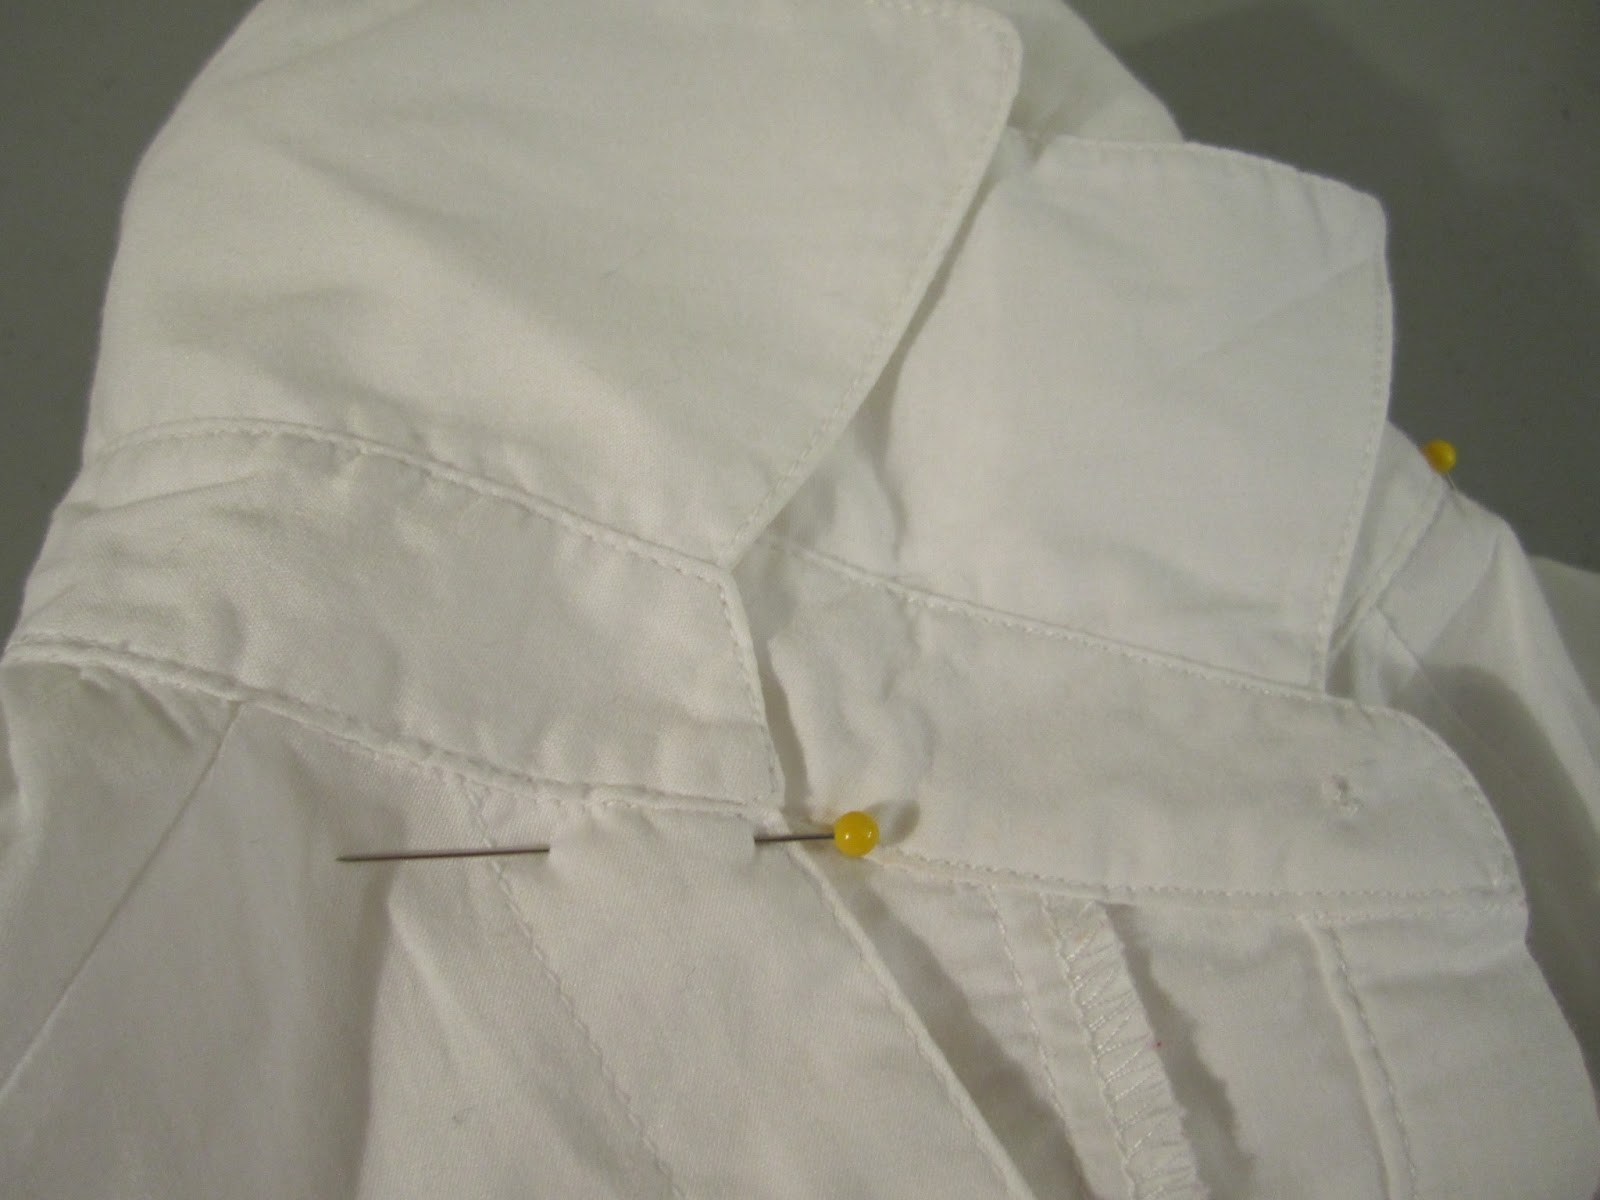

After pinning the whole thing down, I marked around the edge with blue chalk and cut just inside the mark, with about 1/4" allowance.

I also did my best to match up the edges of the shirt so that the buttons and buttonholes would still fit.

I laid the collar over the cut shirt, pinned them together, then started sewing them together.

I also ended up with some extra fabric in the back and realized what those little tucks in the back of dress shirts are for.
A little folding and ironing...

Some pinning...

And voila! A professional looking tuck in the back, with no one the wiser that I misjudged the amount of fabric.

Now, today, we are going to join me on the adventure of discovering the Button Hole setting on your sewing machine! (AKA, Me suddenly realizing what the BH stood for)

I picked out a few pretty buttons to replace the odd ruby looking ones that matched the sweater vest.

I lined up and marked where I wanted my new buttonhole to be by running my chalk pen inside the existing hole.

Then I prepared to switch out my regular foot for my buttonhole foot, which came with my machine.

To swap them out, I used the small red button on the back of the arm, which drops the presser foot.

I lined up the new foot underneath...

Then I lowered the lever so that the new foot would snap into place.

The buttonhole foot comes with handy red marks to measure how long you'd like your buttonhole to be.

Setting number 1 sews in a tight zig zag down the left hand side of the buttonhole.

I lined it up with my blue mark from earlier and got sewing. The beauty of the buttonhole foot is that it the foot moves with you. Since the original buttonholes were two marks long, I sewed until the arrow pointed at the bottom mark.

Settings 2 and 4 make longer horizontal stitches for the top and bottom.

I used number 2 to finish my bottom stitch.

Setting number 3 sews zigzags up the right side.

You should have something that looks like this.

Setting number 4 finishes off the top.

The top is one of the original holes, and the bottom one is mine! No difference, right?

With some careful seam ripping in between the lines, you now have a brand new buttonhole!

I also used some foxy buttons I had around and exchanged them for the plain white buttons that were on the sleeves.

And when everything is said and done, I had a beautiful ruffled shirt with pretty buttons!

Modeled here by my lovely $3 yard sale dress form, Jane Grey.

Well, that's all for now! Feel free to leave any questions below, and thanks for reading!